Table of Contents
The concept behind Editions is that you have a single artwork that serves as the foundation for your NFT project. This artwork can be an existing piece that you already possess or a creation generated through Artificial Intelligence (AI) if you don’t have a specific artwork at hand.
Using Editions, you can mint and distribute multiple NFTs, each representing a unique edition or version of the original artwork. This means that while the underlying artwork remains the same, each NFT within the collection possesses its distinct identity and ownership.
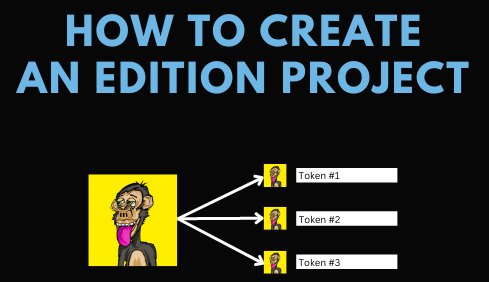
The process begins by uploading or generating the primary artwork, either through your own files or utilizing the AI-based tools available on the platform. Once the artwork is established, you can specify the total number of editions you wish to create and set the desired attributes for each edition.
Editions provide a convenient way for artists, creators, and collectors to engage in the NFT ecosystem. By leveraging this method, you can easily create a diverse collection of NFTs from a single artwork, opening up new avenues for artistic expression, creativity, and investment opportunities in the digital art realm.
Let’s create an Edition Project and deploy to the Blockchain in less than a minute!
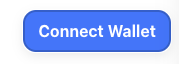
Connect your Wallet
- If you haven’t done it already, press on “Connect Wallet”.
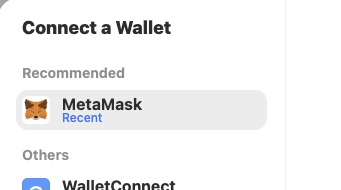
- Click on the wallet you’re using. For the example we’ll use “MetaMask”.
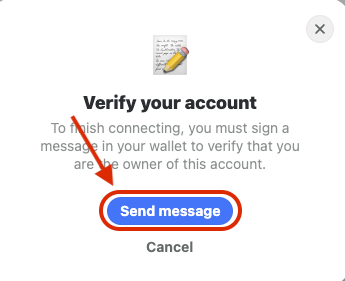
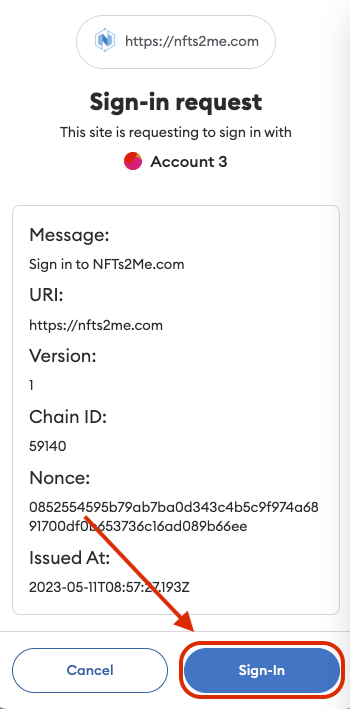
- It will ask you to verify your account to verify that you are the owner of the account. This message is safe and free to sign, there is no TX sent to do that. Click on “Send message” and then verify the Signature.
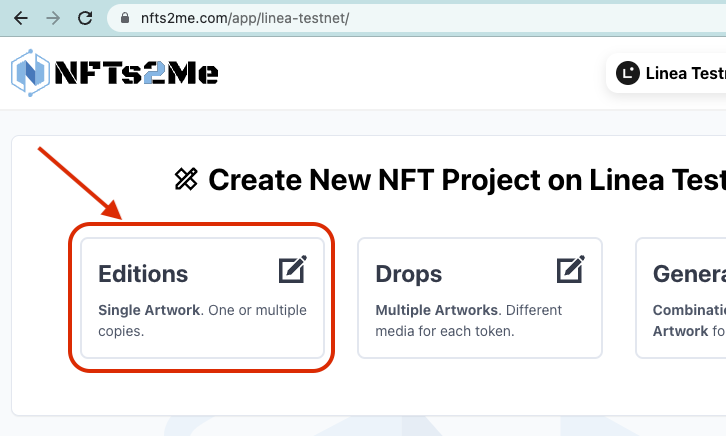
Select the type of project
- After Signing-in, click on “Editions”:
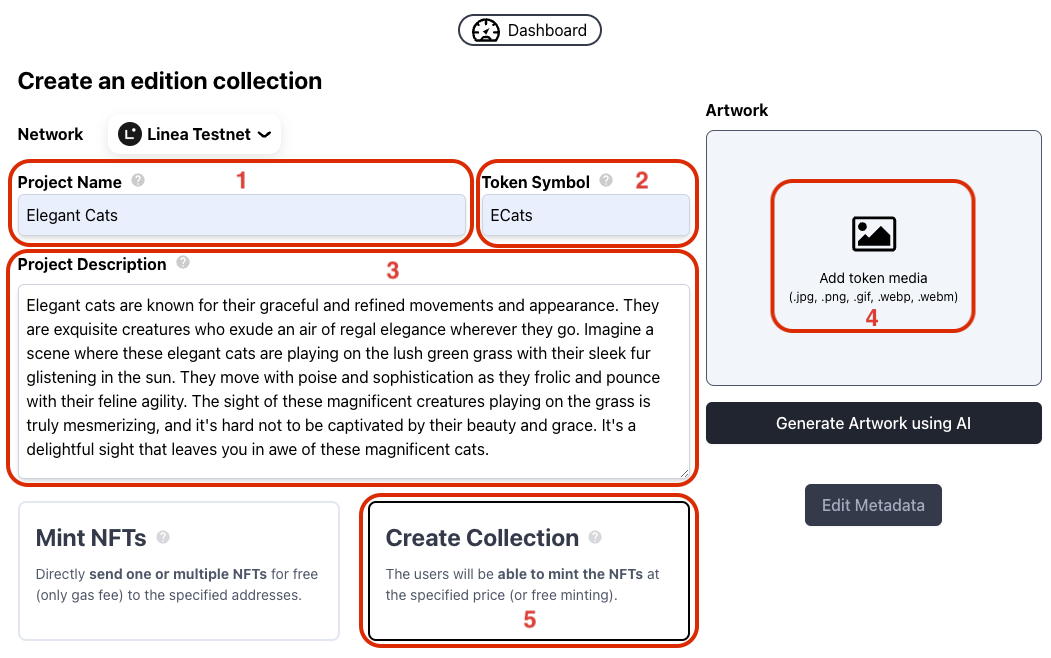
Define the project settings
Now, let’s define the project settings.
- Set a “Project Name”. This will be used for the name of your NFTs.
- Set a “Token Symbol”. This will be the NFT collection symbol.
- Set a “Project Description”.
- Add a new “token media” (you can also press on “Generate Artwork using AI to create an image using AI from the project name and description).
- Click on “Create Collection”.
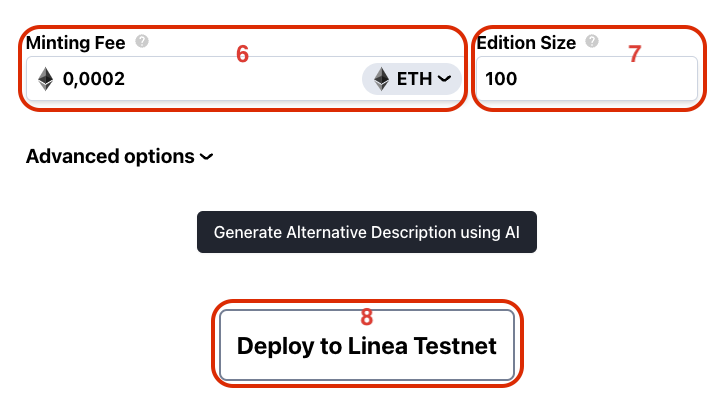
- Specify a “Minting Fee”. It will be the price that the user has to pay to mint the NFT and you’ll receive for each mint, set 0 for “free minting”. By default it is set on native ETH. If you prefer to set the price using an ERC-20 like USDC, you can press on “ETH” and choose a different token.
- Set the “Edition Size”. This will be the maximum number of NFTs that can be minted for the collection.
- Click “Deploy to Linea Testnet”.
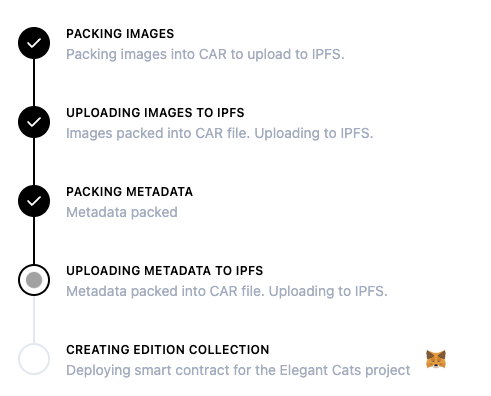
After clicking on “Deploy to Linea Testnet”, it will upload images to IPFS and then ask to confirm the TX
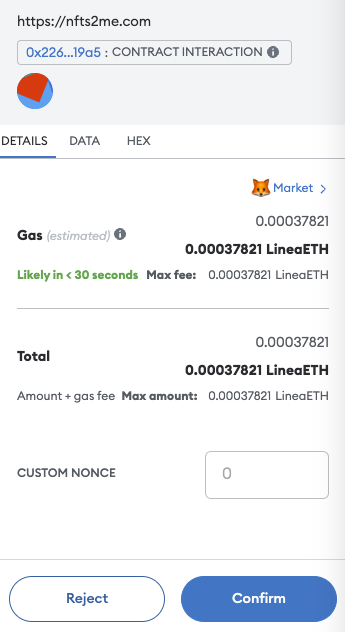
Click on “Confirm” to create the contract for your new NFT Collection.
You’ve deployed a new NFT Project
Congratulations! 🙌🏼 You’ve deployed a new NFT Project on Linea Testnet.
After the transaction is confirmed, a modal will appear with information about what are the usual next steps with your NFT project.
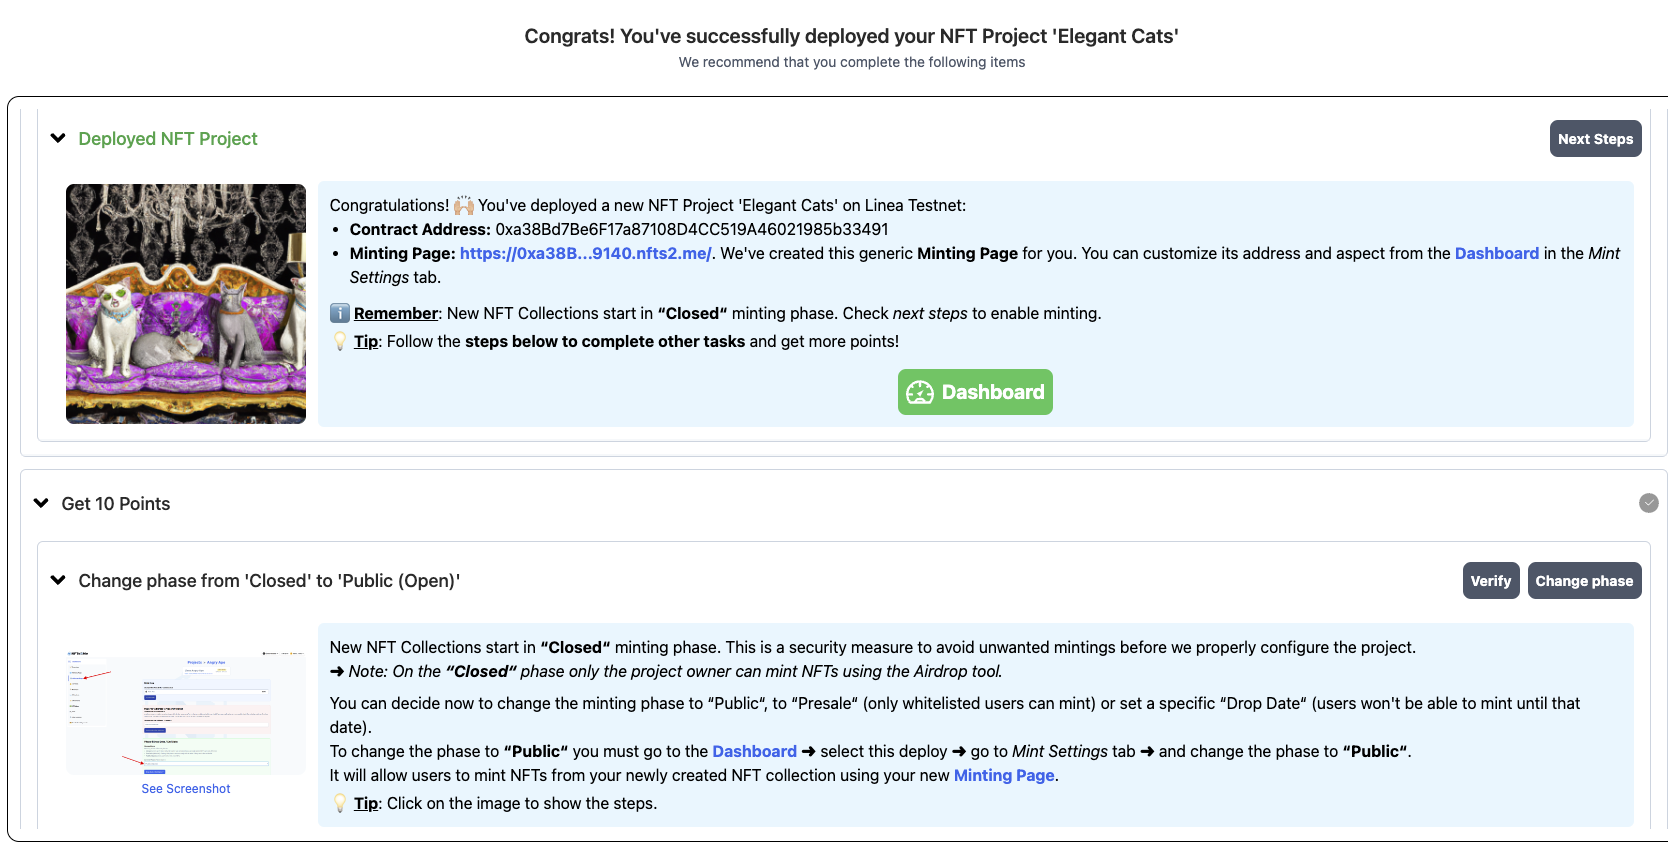
A new generic Minting Page with your own custom subdomain has been created for you. You can customize its address and aspect from the Dashboard in the Mint Settings tab.
ℹ Remember: New NFT Collections start in “Closed“ minting phase. Check configuring NFT Minting Phases.
⚠️ IMPORTANT: When creating a collection, the one who deploys it will be owner (i.e. you). You’ll receive an ownership NFT. The owner of that NFT is the owner of the collection. This can be very useful, as you could even sell the collection (including the fees you receive from primary sales and royalties). But if you transfer that NFT, you’ll lose control of the collection!